Cherries in the Snow Recipe
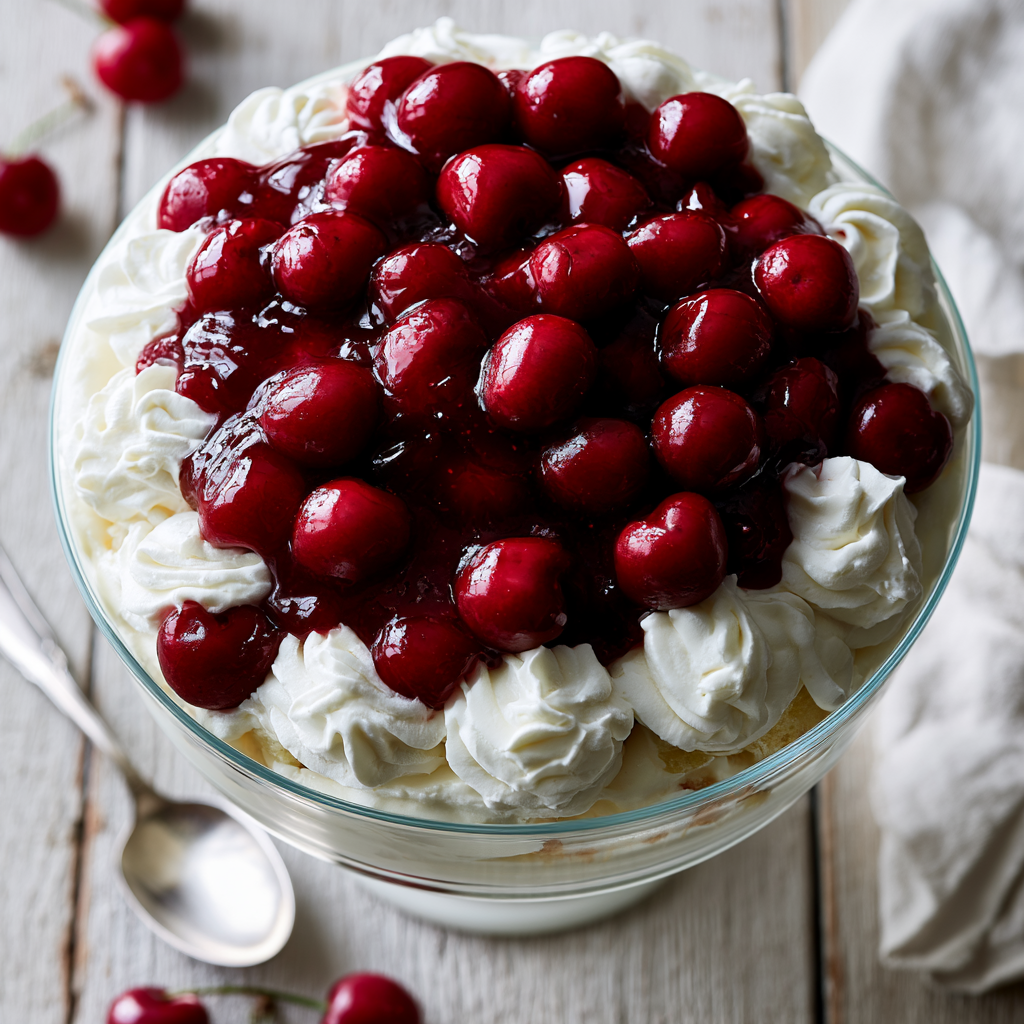
Cherries in the Snow is a classic no-bake dessert that has delighted families for generations. Made with fluffy angel food cake, a rich cream cheese filling, whipped topping, and luscious cherry pie filling, this dessert is both elegant and incredibly easy to prepare. Whether you’re hosting a holiday gathering, attending a potluck, or simply craving a refreshing dessert, this recipe is always a crowd-pleaser. Since it requires no baking, it’s perfect for warm weather and can be made ahead of time for added convenience.
Ingredients List
- 1 prepared angel food cake, cut into bite-sized cubes
- 1 package (8 ounces) cream cheese, softened
- 1 cup powdered sugar
- 1 teaspoon vanilla extract
- 1 container (8 ounces) whipped topping, thawed
- 2 cans (21 ounces each) cherry pie filling
Serving, Prep Time, Cooking Time & Calories
Servings: 10–12
Prep Time: 20 minutes
Cooking Time: 0 minutes
Chilling Time: 2 hours
Total Time: 2 hours 20 minutes
Calories: Approximately 340 calories per serving
Why You Will Love This Recipe
- No baking required.
- Perfect for making ahead.
- Rich, creamy, and fruity flavor.
- Uses simple pantry ingredients.
- Ideal for holidays and family gatherings.
- Beginner-friendly recipe.
- Beautiful layered presentation.
- Easy to customize with different fruit toppings.
Step By Step Instructions
Step 1: Prepare the Cream Cheese Filling
In a large mixing bowl, beat the softened cream cheese until smooth. Add the powdered sugar and vanilla extract, then continue beating until creamy. Gently fold in the whipped topping until the mixture becomes light and fluffy.
Step 2: Create the First Layer
Spread half of the cubed angel food cake evenly into the bottom of a 9×13-inch serving dish.
Step 3: Add the Cream Layer
Carefully spread half of the cream cheese mixture over the cake cubes, making sure it reaches the edges.
Step 4: Add the Cherry Topping
Spoon half of the cherry pie filling over the cream layer and spread it evenly.
Step 5: Repeat the Layers
Add the remaining angel food cake cubes, followed by the remaining cream cheese mixture, then finish with the rest of the cherry pie filling.
Step 6: Chill Before Serving
Cover the dish and refrigerate for at least 2 hours so the dessert can set properly before serving.
Variations To Try
Strawberry Version
Replace the cherry pie filling with strawberry pie filling for a sweet berry variation.
Blueberry Delight
Use blueberry pie filling for a rich and colorful alternative.
Mixed Berry Dessert
Combine cherry, blueberry, and strawberry pie fillings for extra fruity flavor.
Lemon Twist
Mix a teaspoon of fresh lemon zest into the cream cheese filling for a refreshing citrus taste.
Nutty Topping
Sprinkle chopped pecans or sliced almonds over the top before serving for added crunch.
Freezing Or Restoring
Refrigerator Storage
Store leftovers tightly covered in the refrigerator for up to 4 days.
Freezing
Freeze individual portions in airtight containers for up to one month. Thaw overnight in the refrigerator before serving. The whipped topping may become slightly softer after thawing, but the dessert will still taste delicious.
Recipe Notes
- Always soften the cream cheese before mixing to achieve a smooth filling.
- Chill the dessert for at least two hours for the best texture.
- Homemade whipped cream can be substituted for whipped topping.
- Fresh cherries make a beautiful garnish.
- Angel food cake keeps the dessert light, but pound cake can also be used for a richer version.
- This dessert often tastes even better the next day.
Cherries in the Snow Recipe
10-12
servings20
minutes340
kcalIngredients
1 prepared angel food cake, cut into 1-inch cubes
1 (8-ounce) package cream cheese, softened
1 cup powdered sugar
1 teaspoon vanilla extract
1 (8-ounce) container whipped topping, thawed
2 (21-ounce) cans cherry pie filling
Directions
- In a large mixing bowl, beat the softened cream cheese until smooth and creamy.
- Add the powdered sugar and vanilla extract, then mix until fully combined.
- Gently fold the whipped topping into the cream cheese mixture until light and fluffy.
- Arrange half of the cubed angel food cake in the bottom of a 9×13-inch serving dish.
- Spread half of the cream cheese mixture evenly over the cake.
- Spoon half of the cherry pie filling over the cream layer.
- Repeat the layers with the remaining cake cubes, cream cheese mixture, and cherry pie filling.
- Cover the dish with plastic wrap or a lid.
- Refrigerate for at least 2 hours before serving to allow the dessert to set.
- Serve chilled and enjoy.
Recipe Video
Notes
- Allow the cream cheese to soften at room temperature before mixing for the smoothest filling.
Chill the dessert for at least 2 hours, or overnight for the best flavor and texture.
Fresh whipped cream can be used instead of frozen whipped topping if preferred.
You can substitute blueberry, strawberry, or raspberry pie filling for a delicious variation.
Store leftovers covered in the refrigerator for up to 4 days.
This dessert is not recommended for long-term freezing, as the texture of the whipped topping may change after thawing.
FAQs
Can I make Cherries in the Snow ahead of time?
Yes. It can be prepared one day in advance and stored in the refrigerator until ready to serve.
Can I use homemade cherry topping?
Yes. Homemade cherry sauce works wonderfully and provides an even fresher flavor.
Can I substitute the whipped topping?
Yes. Stabilized homemade whipped cream is an excellent substitute.
Can I use different pie fillings?
Absolutely. Blueberry, strawberry, raspberry, peach, or mixed berry pie fillings all work beautifully.
Does this dessert need refrigeration?
Yes. Because it contains dairy ingredients, it should remain refrigerated until serving.
Can I use pound cake instead of angel food cake?
Yes. Pound cake creates a richer and denser dessert while still tasting delicious.
Conclusion
Cherries in the Snow is a timeless dessert that’s easy enough for beginners yet elegant enough for special occasions. The combination of fluffy cake, creamy filling, and sweet cherry topping creates an irresistible dessert that everyone loves. Since it requires no baking and can be made ahead of time, it’s an excellent choice for holidays, potlucks, picnics, and family dinners. Once you try this classic recipe, it’s sure to become one of your favorite no-bake desserts.