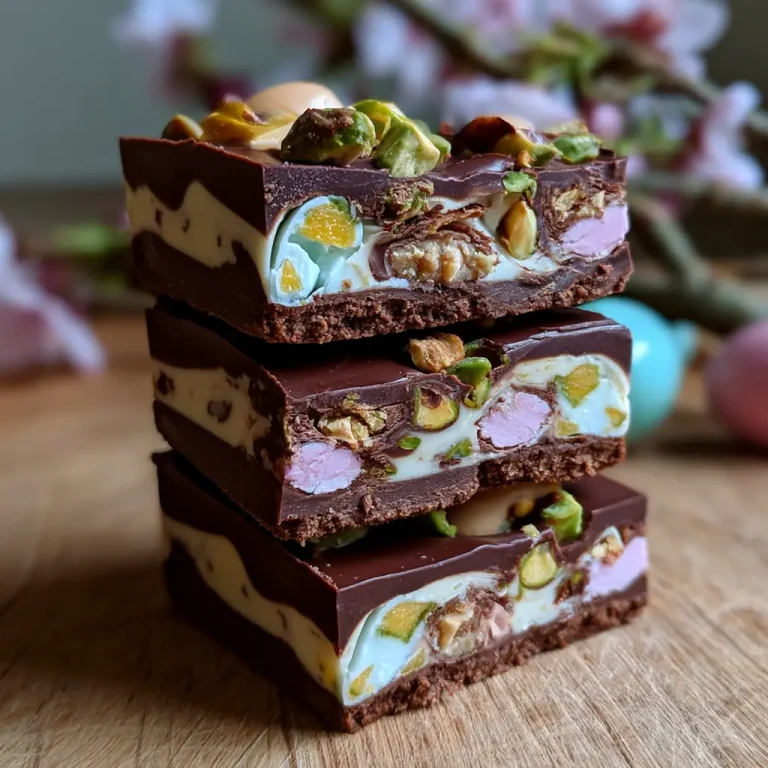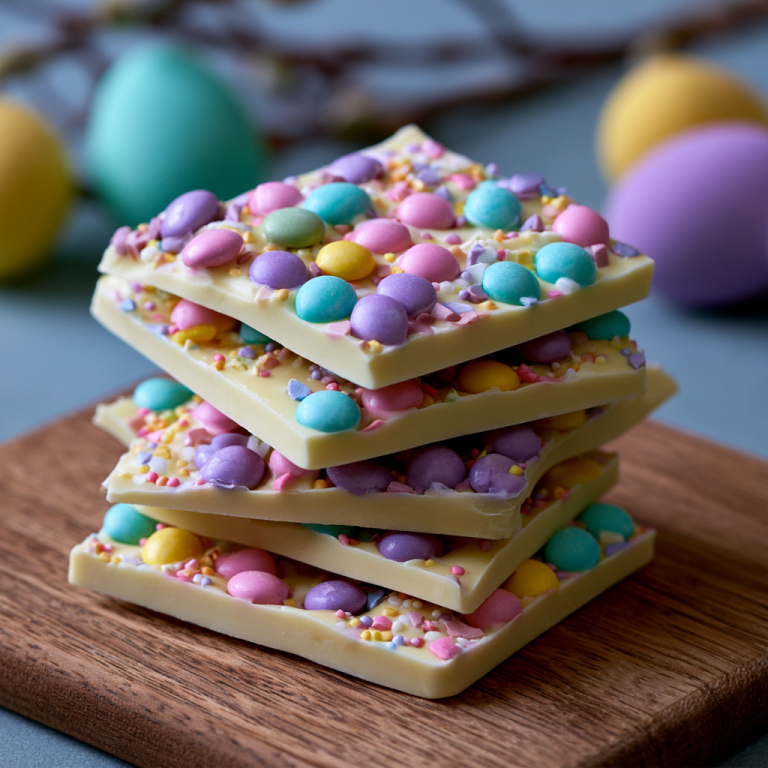
Easter Nests Recipe
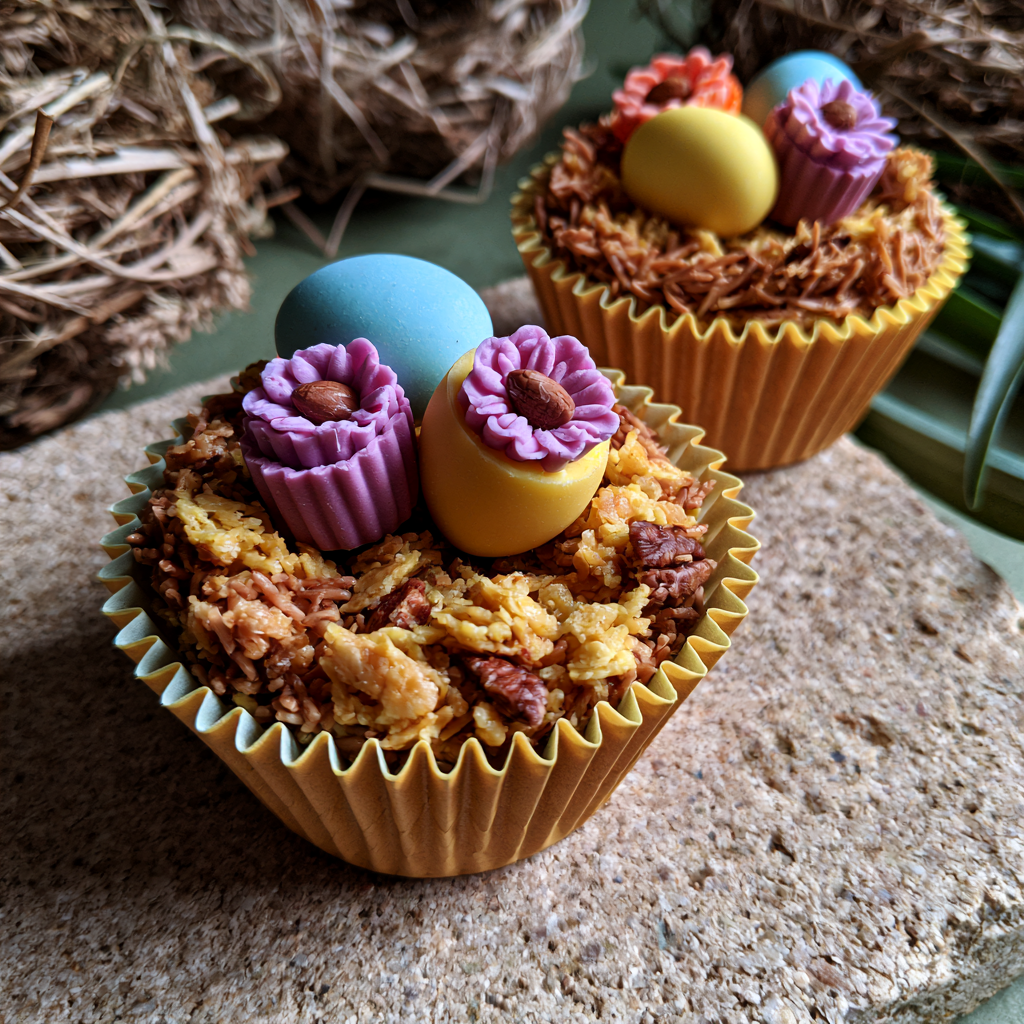
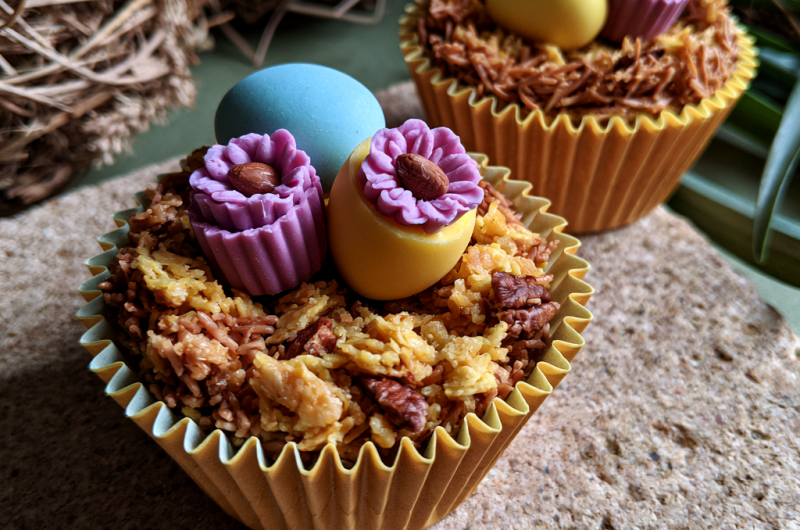
Easter Nests are one of the easiest and most festive no-bake treats you can make during the spring season. These adorable chocolate nests are made with crispy cereal coated in melted chocolate and shaped into little nests before being filled with colorful candy eggs. They require just a handful of ingredients, making them perfect for Easter parties, family gatherings, school events, or a fun baking activity with kids. Best of all, they come together in minutes and look as beautiful as they taste.
Ingredients List
- 4 cups crispy chow mein noodles or crispy rice cereal
- 2 cups milk chocolate chips
- 1 cup semi-sweet chocolate chips
- 2 tablespoons unsalted butter
- 1 teaspoon vanilla extract
- 1 tablespoon light corn syrup (optional for extra shine)
- 36 mini candy-coated chocolate eggs
- Non-stick cooking spray or cupcake liners
Serving, Prep Time, Cooking Time & Calories
| Details | Value |
|---|---|
| Servings | 12 nests |
| Prep Time | 15 minutes |
| Cooking Time | 5 minutes |
| Chill Time | 30 minutes |
| Total Time | 50 minutes |
| Calories | Approximately 210 per serving |
Why You Will Love This Recipe
- Perfect no-bake Easter dessert.
- Ready with only a few simple ingredients.
- Kid-friendly and fun to decorate.
- Great make-ahead treat for parties.
- Crunchy, chocolatey, and delicious.
- Easily customizable with your favorite chocolates and candies.
- Beautiful centerpiece for Easter dessert tables.
Step By Step Instructions
Step 1: Prepare the Pan
Lightly grease a muffin tin or line it with cupcake liners to help shape the nests.
Step 2: Melt the Chocolate
In a microwave-safe bowl, combine the milk chocolate chips, semi-sweet chocolate chips, and butter. Microwave in 30-second intervals, stirring after each interval until smooth. Stir in the vanilla extract and optional corn syrup.
Step 3: Coat the Cereal
Add the crispy chow mein noodles or crispy rice cereal to the melted chocolate. Gently fold everything together until evenly coated.
Step 4: Form the Nests
Spoon the mixture into each muffin cup. Use the back of a spoon to gently press the center, creating a nest shape.
Step 5: Add the Candy Eggs
Place three mini candy eggs into the center of each nest while the chocolate is still soft.
Step 6: Chill
Refrigerate the nests for about 30 minutes or until completely firm.
Step 7: Serve
Carefully remove the nests from the muffin tin and serve immediately or store for later.
Variations To Try
- Use white chocolate instead of milk chocolate.
- Add peanut butter to the melted chocolate for extra flavor.
- Mix in shredded coconut for a bird’s nest appearance.
- Use pretzel sticks instead of chow mein noodles.
- Decorate with jelly beans, mini marshmallows, or pastel sprinkles.
- Drizzle with melted white chocolate for an elegant finish.
- Make gluten-free nests using gluten-free crispy cereal.
Freezing Or Restoring
Store Easter Nests in an airtight container at room temperature for up to 5 days.
For longer storage, refrigerate them for up to 2 weeks.
Freeze in a freezer-safe container for up to 2 months. Place parchment paper between layers to prevent sticking.
Allow frozen nests to thaw at room temperature for about 20 minutes before serving.
Recipe Notes
- Avoid overheating the chocolate to prevent it from becoming grainy.
- Work quickly before the chocolate begins to set.
- Greasing the spoon lightly helps shape the nests more easily.
- Mini muffin tins create bite-sized Easter treats.
- Store away from direct sunlight to prevent melting.
- Use high-quality chocolate for the richest flavor.
Easter Nests Recipe
12
servings15
minutes5
minutes210
kcalIngredients
4 cups crispy chow mein noodles or crispy rice cereal
2 cups milk chocolate chips
1 cup semi-sweet chocolate chips
2 tablespoons unsalted butter
1 teaspoon vanilla extract
1 tablespoon light corn syrup (optional)
36 mini candy-coated chocolate eggs
Directions
- Line a 12-cup muffin tin with paper liners or lightly grease the cups.
- In a microwave-safe bowl, combine the milk chocolate chips, semi-sweet chocolate chips, and butter. Microwave in 30-second intervals, stirring after each, until smooth.
- Stir in the vanilla extract and corn syrup, if using.
- Add the crispy chow mein noodles or crispy rice cereal to the melted chocolate and gently mix until completely coated.
- Divide the mixture evenly among the muffin cups.
- Using the back of a spoon, gently press the center of each portion to create a nest shape.
- Place 3 mini candy eggs into the center of each nest.
- Refrigerate for 30 minutes, or until the chocolate is fully set.
- Remove the nests from the muffin tin and serve immediately or store for later.
Recipe Video
Notes
- Use good-quality chocolate for the best flavor and texture.
Work quickly before the chocolate begins to harden.
Crispy chow mein noodles create the most realistic bird’s nest look, while crispy rice cereal offers a softer crunch.
Store the nests in an airtight container at room temperature for up to 5 days or refrigerate for up to 2 weeks.
These Easter Nests can also be frozen for up to 2 months. Thaw at room temperature before serving.
Decorate with pastel sprinkles, shredded coconut, or different candy eggs for a festive Easter presentation.
FAQs
Can I make Easter Nests ahead of time?
Yes. They can be prepared several days in advance and stored in an airtight container.
Can I use white chocolate?
Absolutely. White chocolate creates a beautiful spring-inspired version.
What cereal works best?
Crispy chow mein noodles create the classic nest appearance, while crispy rice cereal gives a softer texture.
Can kids help make these?
Yes. Since this is a no-bake recipe, children can safely help mix, shape, and decorate the nests with supervision.
How do I keep the nests from sticking?
Use cupcake liners or lightly grease the muffin tin before adding the chocolate mixture.
Conclusion
These Easter Nests are a simple yet impressive dessert that perfectly captures the spirit of Easter. Their crunchy chocolate texture, colorful candy eggs, and adorable nest shape make them a favorite for both kids and adults. Whether you’re preparing treats for an Easter brunch, holiday dessert table, or a fun family activity, this easy no-bake recipe is guaranteed to become a seasonal tradition.